
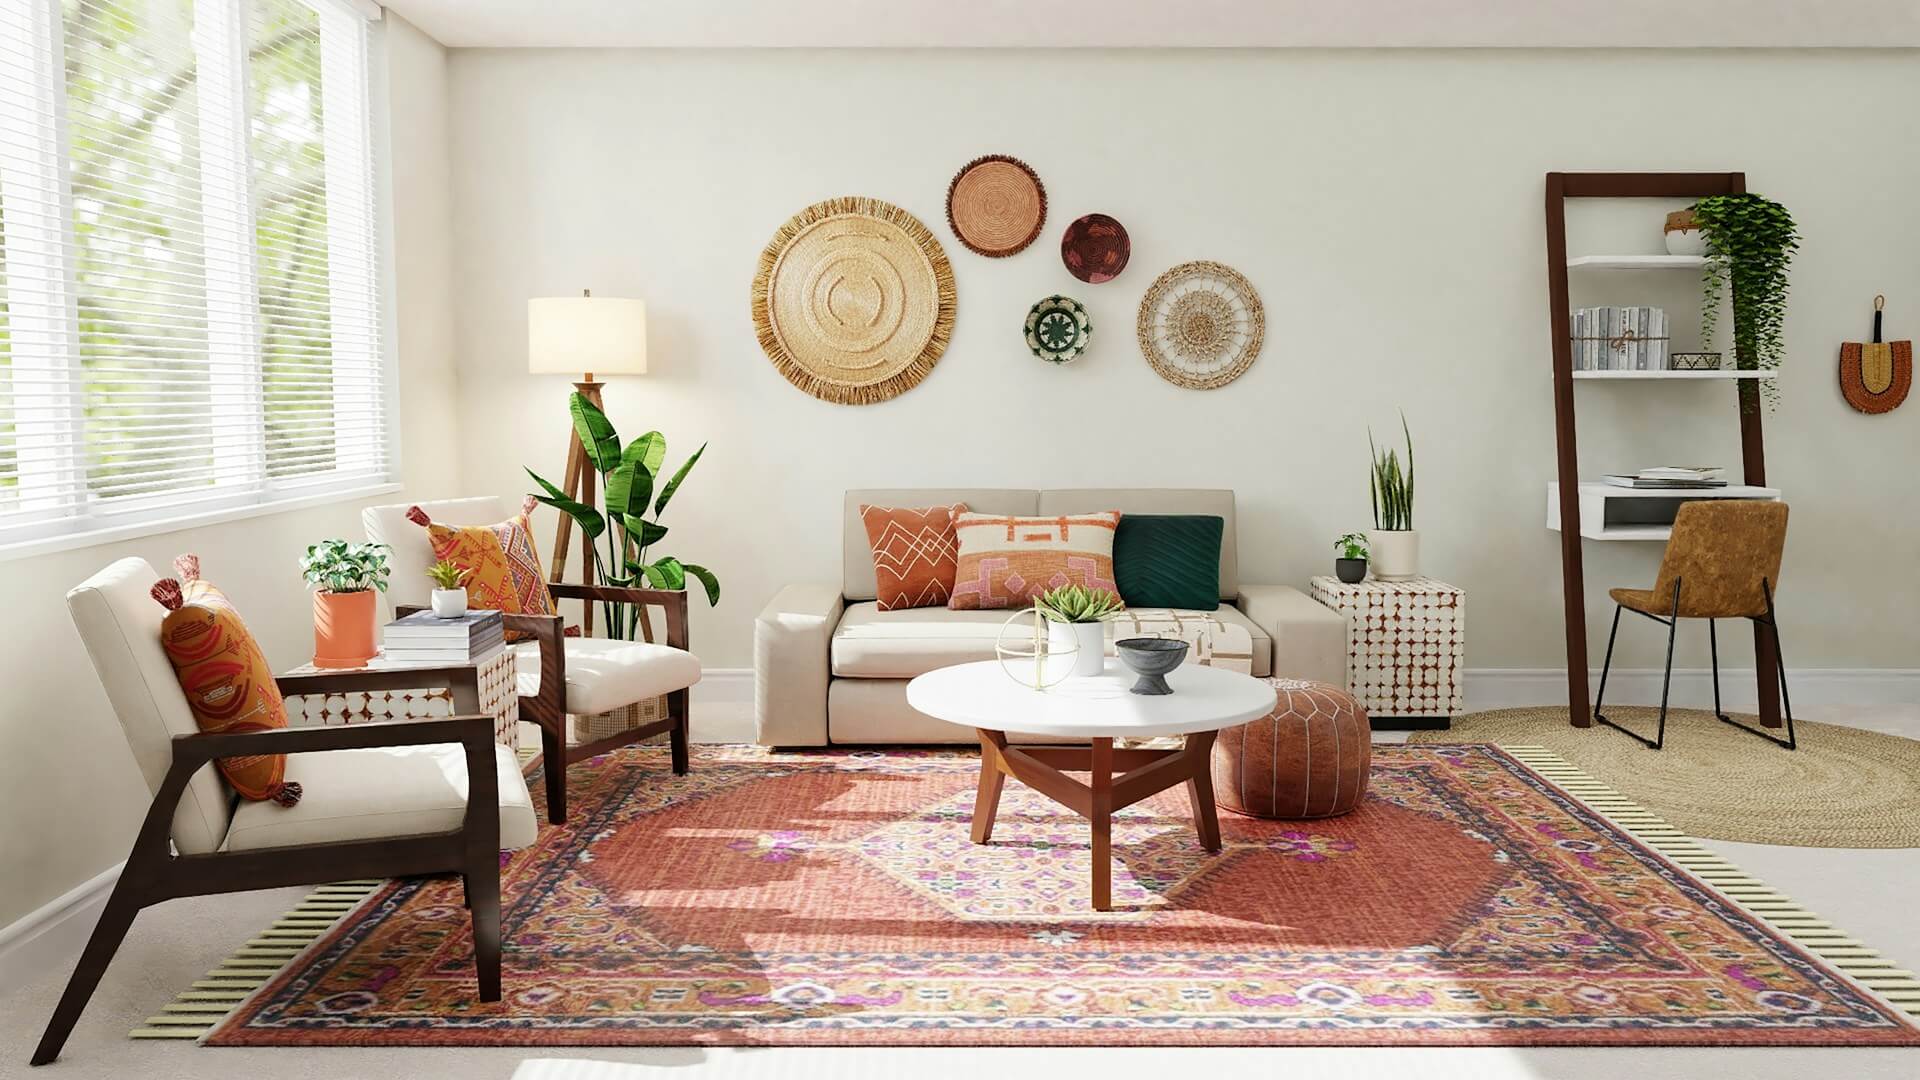
Tired of the same old look in your living space? Is your Pinterest board filled with dreamy decor you just can’t afford? Well, look no further, because with a few simple materials and a touch of creativity, you can transform your home into a haven of personal style and flair — all without emptying your wallet!
In this comprehensive guide to budget-friendly DIY home decor, we’ll walk you through ten trendy projects that are not only easy to execute but also allow you to put your stamp on your living space. From creating custom wall art to revamping your furniture, these projects are sure to spice up your home.
Each DIY project below is designed to be approachable for all skill levels and is adaptable to your taste. Grab your crafting supplies, prepare to roll up your sleeves, and get ready to inject some serious style into your home, all by your creative self!
1. Revamped Lampshade
Looking to brighten up a dull corner? Transform a plain lampshade into a statement piece. Pick up a second-hand lamp and cover the shade with a fabric that complements your space. Not only is this one of the easiest DIY projects, but it’s also incredibly cost-effective.
Materials you’ll need:
- Lampshade
- Fabric (make sure it’s longer and wider than the shade)
- Scissors
- Fabric glue or double-sided tape
- Trimmings (optional)
Instructions:
- Measure and cut your fabric to the appropriate size.
- Apply fabric glue or double-sided tape to the inside lip of the lampshade.
- Carefully attach the fabric to the shade, smoothing out any bumps.
- Add trim for a professional finish.
Now, watch as your old lamp transforms into a chic, custom piece that reflects your personal style.
2. Geometric Painted Wall
A splash of paint on your walls can do wonders for the atmosphere of a room. Geometric patterns are in vogue and can be achieved without any great skill. This project will add visual interest and a modern touch without the need for expensive wallpaper or extensive painting expertise.
Materials you’ll need:
- Paint (two or more colors)
- Painter’s tape
- Measuring tape
- Level
- Paintbrushes
- Roller and tray
Instructions:
- Decide on the pattern and shape you want to achieve and mark it out using a level and measuring tape.
- Tape off the areas where you don’t want to paint.
- Apply your first color within the taped-off sections and allow it to dry completely.
- Remove the tape and re-tape in a way that covers the areas you want to keep in the first color but allows you to paint the second area of the first color and the new color.
- Paint your second color, and remove the tape once it’s dried.
The result? A stunning, on-trend feature wall that sets the tone for the entire room.
3. No-Sew Pillow Covers
Throw pillows can be expensive, but not if you make them yourself. This no-sew project is perfect for adding comfort and color to a room without the hassle of threading a needle.
Materials you’ll need:
- Fabric
- Pillow inserts
- Fabric glue
- Iron
- Measuring tape
- Scissors
Instructions:
- Measure and cut your fabric to the appropriate size, ensuring there’s enough to cover the insert with a bit of overlap.
- Fold your fabric, inside out, around the pillow insert to check the fit.
- Apply fabric glue along the edges to secure the seams.
- Allow the glue to dry, then turn the cover right side out.
- If desired, iron the seams for a crisper look.
In just a few steps, you’ll have a collection of new pillows that will liven up your sofa or bed.
4. Upcycled Picture Frames
Empty walls can be depressing, and new picture frames can certainly be expensive. However, with a little creativity, you can turn second-hand frames into charming and unique pieces that showcase your favorite photos or artworks.
Materials you’ll need:
- Picture frames
- Sandpaper
- Paint or wood stain
- Paintbrushes
- Wallpaper, aluminum foil, or old book pages (for an interesting backing)
- Scissors
- Glue
Instructions:
- Remove any existing pictures and glass from the frames.
- Sand down any imperfections on the frame.
- Paint or stain the frame in a color of your choice.
- Measure and cut your chosen backing to fit the frame.
- Secure the backing in place with glue.
- Once dry, pop your favorite image into the frame and display with pride.
5. Customized Doormat
The entryway is the first thing people see when they walk into your home, and a personalized doormat gives a warm welcome while making a statement about your home’s style.
Materials you’ll need:
- Plain coir doormat
- Masking tape
- Outdoor paint
- Stencils (optional)
- Paintbrushes
Instructions:
- Decide on your message or design and place the stencils on the mat.
- Use masking tape to block off areas you don’t want to paint.
- Apply your paint, being careful to only get it where you want it.
- Remove the tape and stencils, and allow the paint to dry.
A custom doormat adds a touch of humor, a welcoming vibe, or a personalized message that is sure to make a memorable impression.
6. Rope-Wrapped Vases
Rope can add a nautical or rustic touch to any room, and wrapped around a vase, it creates a stylish and versatile decor piece.
Materials you’ll need:
- Thin rope
- Vase
- Hot glue gun
- Scissors
Instructions:
- Starting at the bottom, apply a line of hot glue and press the rope into place.
- Continue wrapping, applying glue as you go to ensure the rope stays in place.
- Cut the rope and secure the end with glue when you reach the top.
- Repeat with additional vases for a coordinated look.
These vases are perfect for holding flowers or as standalone pieces on a shelf or mantel.
7. Terra-Cotta Table Setting
Terra-cotta pots aren’t just for gardening anymore! They can create a beautiful, earthy table setting that brings nature indoors.
Materials you’ll need:
- Small terra-cotta pots
- Paint
- Paintbrushes
- Sealer (optional)
- Cork or felt pads
Instructions:
- Clean the pots and sand down any rough spots.
- Paint the pots in a design or color of your choice.
- Apply a sealer if the paint is water-based and if the pots will be subjected to moisture.
- Attach cork or felt pads to the bottom to protect your table surfaces.
- Use them to hold cutlery, and condiments, or even as planters for small herbs or flowers.
8. Fabric-Covered Plant Pots
Breathe life into your space by pairing your greenery with plant pots covered in your favorite fabric.
Materials you’ll need:
- Plant pots
- Fabric
- Mod Podge or white glue
- Paintbrush
- Scissors
Instructions:
- Measure and cut your fabric to the height and circumference of the pot, adding a few inches to the height.
- Apply a thin coat of Mod Podge or white glue to the pot and press the fabric onto it.
- Fold over the excess fabric at the top and secure it inside.
- Apply another coat of Mod Podge or white glue over the fabric to seal it.
Your plants have never looked so stylish!
9. Stenciled Kitchen Backsplash
A tiled kitchen backsplash can be one of the most expensive parts of a kitchen renovation. Instead, stencil a backsplash for a fraction of the cost and with as much personality as any pricey tile.
Materials you’ll need:
- Tile stencils
- Painter’s tape
- Paint in multiple colors
- Stencil brushes
- Level
Instructions:
- Clean the wall where you’ll apply the stencil.
- Tape the stencil in place with painter’s tape, using a level to ensure it’s straight.
- Dab the paint onto the stencil, using a stippling motion to prevent bleeding.
- Continue until you’ve covered the entire area, being sure to clean the stencil periodically to avoid smudges.
This is an easy and customizable way to completely change the look and feel of your kitchen.
10. Floating Rope Shelves
Create rustic-chic storage solutions with DIY floating shelves made from wood and rope.
Materials you’ll need:
- Wood planks
- Rope
- Drill
- Screws
- Wall anchors
- Level
Instructions:
- Cut the wood planks to the desired shelf lengths.
- Drill holes at each corner or an even distance from the edges of the wood.
- Thread the rope through the holes and tie knots to secure the shelf in place.
- Install wall anchors where you want your shelves to hang and attach the rope securely to the wall.
Not only do these shelves serve as practical storage, but they also add a cozy, bespoke element to your space.
Enjoy Your New Space
Now that you’ve tackled these DIY home decor projects, it’s time to sit back and enjoy the fruits of your labor. Your home is now an extension of your unique taste and style, showcasing your creativity and flair for design. And the best part is, you didn’t have to spend a fortune to achieve it.
Remember, the most important element in any DIY project is your personal touch, so don’t be afraid to get creative and make these projects your own. Whether it’s a splash of your favorite color, a unique fabric choice, or an offbeat customization, the result is sure to be a space that feels truly yours.
Happy decorating!